
Why a Patio Awning is a Smart Home Upgrade
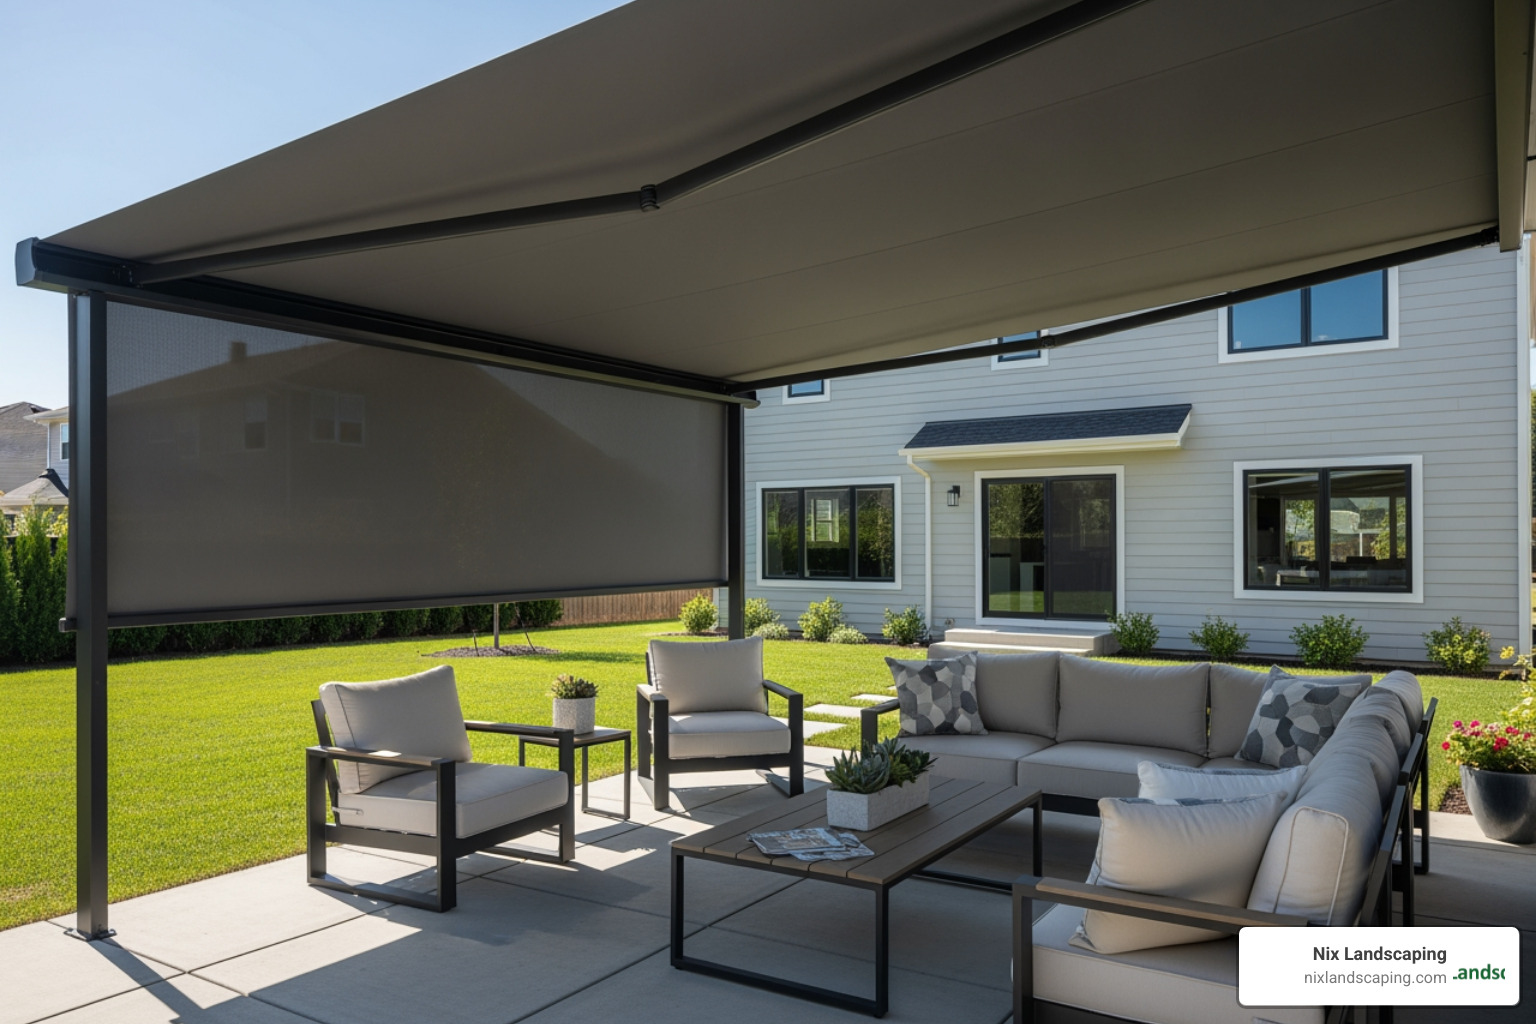
An awning for patio installation transforms your outdoor space into a comfortable retreat, protecting you from the sun, lowering cooling costs, and extending your living area. Many homeowners successfully tackle this DIY project with the right preparation and guidance.
Quick Answer: Key Steps for Awning Installation
- Measure your space – Ensure 8-10 feet of height clearance and at least 12 inches of vertical wall space
- Choose your awning type – Retractable or fixed, manual or motorized
- Gather tools – Level, drill, stud finder, wrenches, and safety gear
- Locate wall studs – Mount brackets securely to structural supports
- Install brackets – Use proper spacing and ensure they’re level
- Mount the awning – Requires two people for safe lifting
- Test and adjust – Set proper pitch (typically 15 degrees) for water runoff
The benefits are significant. Awnings can lower outdoor temperatures by up to 20 degrees, block up to 98% of harmful UV rays, and reduce your home’s cooling costs. In fact, studies from the U.S. Department of Energy show they can reduce solar heat gain by 65-77% on sunny days. They also protect outdoor furniture from fading and can increase property value.
Professional installation labor costs between $250-$900, though a DIY approach can save you hundreds. A professionally installed manual retractable awning averages $850, while a motorized 12-foot model is closer to $2,350.
As Kyle Nix, owner of Nix Landscaping in Fishers, Indiana, I’ve helped countless homeowners with professional awning for patio installation. Through years of experience, I’ve learned what it takes to get this project right the first time, whether you’re going DIY or hiring a pro.
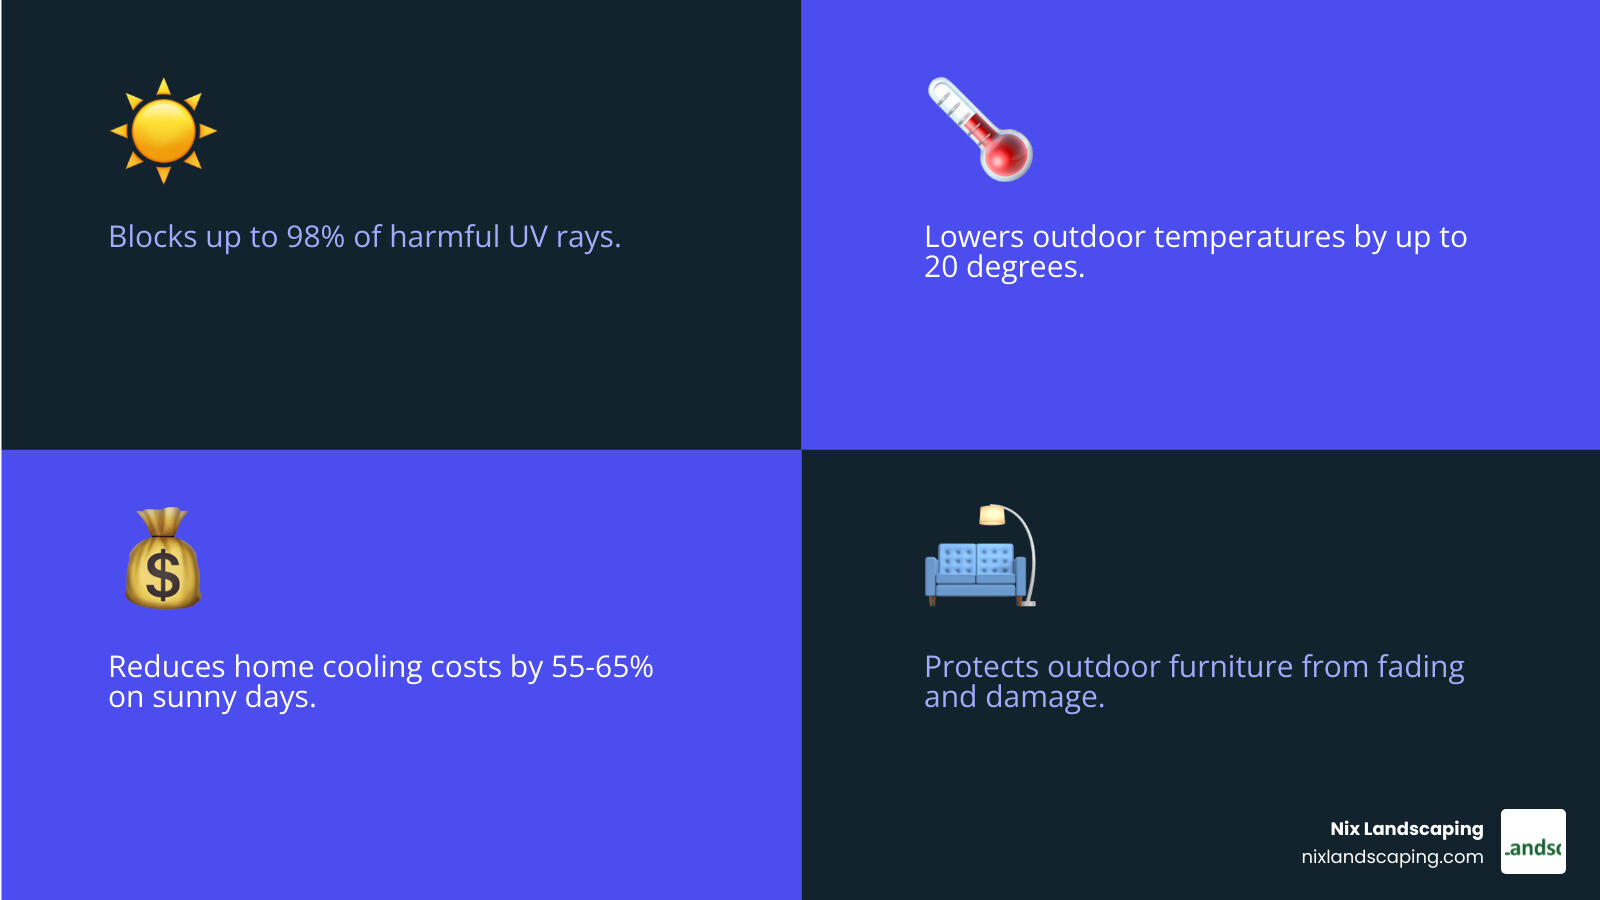
Awning for patio installation terms explained:
Step 1: Selecting the Right Awning for Your Patio
Choosing the right awning is the first crucial step for a successful awning for patio installation. It’s about understanding types, materials, and operation to meet your needs for shade, protection, and aesthetics. Consider your patio’s size, local climate, and how you’ll use the space.
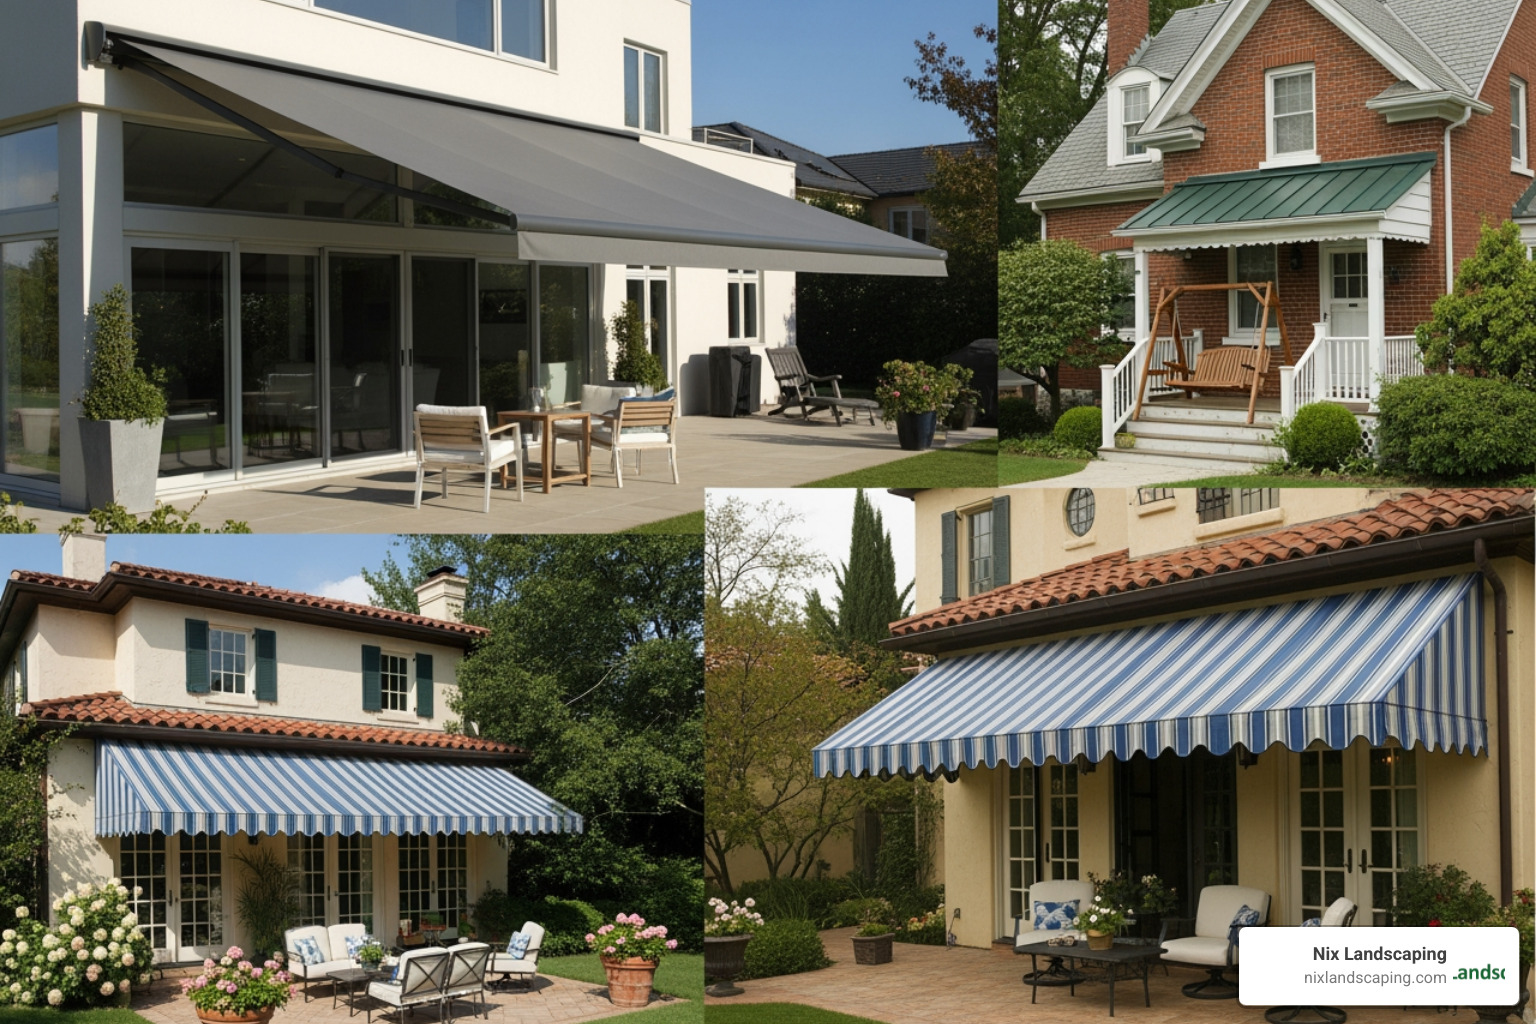
Fabric is key. Most are durable, solution-dyed acrylic or coated polyester, resistant to water, fading, and mildew. They can block up to 98% of harmful UV rays, making your patio safer. Frames are typically rust-resistant aluminum or heavy-duty steel, often powder-coated for extra durability.
Retractable vs. Fixed Awnings
One of the biggest decisions you’ll make is between a retractable and a fixed awning. Both have their merits, and the best choice depends on your priorities.
| Feature | Retractable Awnings | Fixed Awnings |
|---|---|---|
| Flexibility | High – can be extended or retracted as needed | Low – permanent shade structure |
| Weather Resistance | Can be retracted during harsh weather to prevent damage | Permanent exposure to all weather; higher durability needs |
| Cost | Generally higher upfront cost (especially motorized) | Generally lower upfront cost |
| Maintenance | Requires cleaning and occasional mechanism inspection | Requires cleaning, less mechanism maintenance |
Retractable awnings offer unparalleled flexibility. They allow you to control the amount of sun or shade you get, extending for protection on a hot day and retracting to let the sunshine in when desired. This also means you can retract them during high winds, heavy rain, or snow, significantly extending their lifespan and protecting them from damage. Fixed awnings, on the other hand, provide constant shade and are often chosen for their simpler design and lower initial cost. They are built to withstand continuous exposure to the elements, but cannot be adjusted.
Manual vs. Motorized Operation
Once you’ve decided on retractable, your next choice is how it operates: manually or motorized.
Manual retractable awnings are operated with a hand crank. They are a cost-effective option and can be quite easy to use. If you’re looking to save some money on installation costs, a manual operation awning is definitely worth considering. For a standard 12-foot model, professional installation for a manual retractable awning can average around $850.
Motorized awnings, however, offer ultimate convenience. With the touch of a button on a remote control, your awning extends or retracts smoothly. Many motorized systems can also integrate with smart home systems, allowing for even greater control. Some even come with weather sensors that automatically retract the awning during strong winds or heavy rain, offering peace of mind and protecting your investment. While the upfront cost is higher—professional installation for a motorized awning can average around $2,350 for a 12-foot model—the added comfort and protection can be well worth it.
Customization options are also available, including LED lighting, drop-down valances for extra shade and privacy, and a variety of frame colors and fabrics to match your home’s aesthetic. We at Nix Landscaping can help you explore these options to find the perfect fit for your outdoor living space.
Step 2: The Pre-Installation Checklist: Measuring, Tools, and Costs
Before drilling, a pre-installation checklist is essential for a smooth awning for patio installation. This includes careful measuring, gathering tools, and understanding the costs. Proper preparation is key.
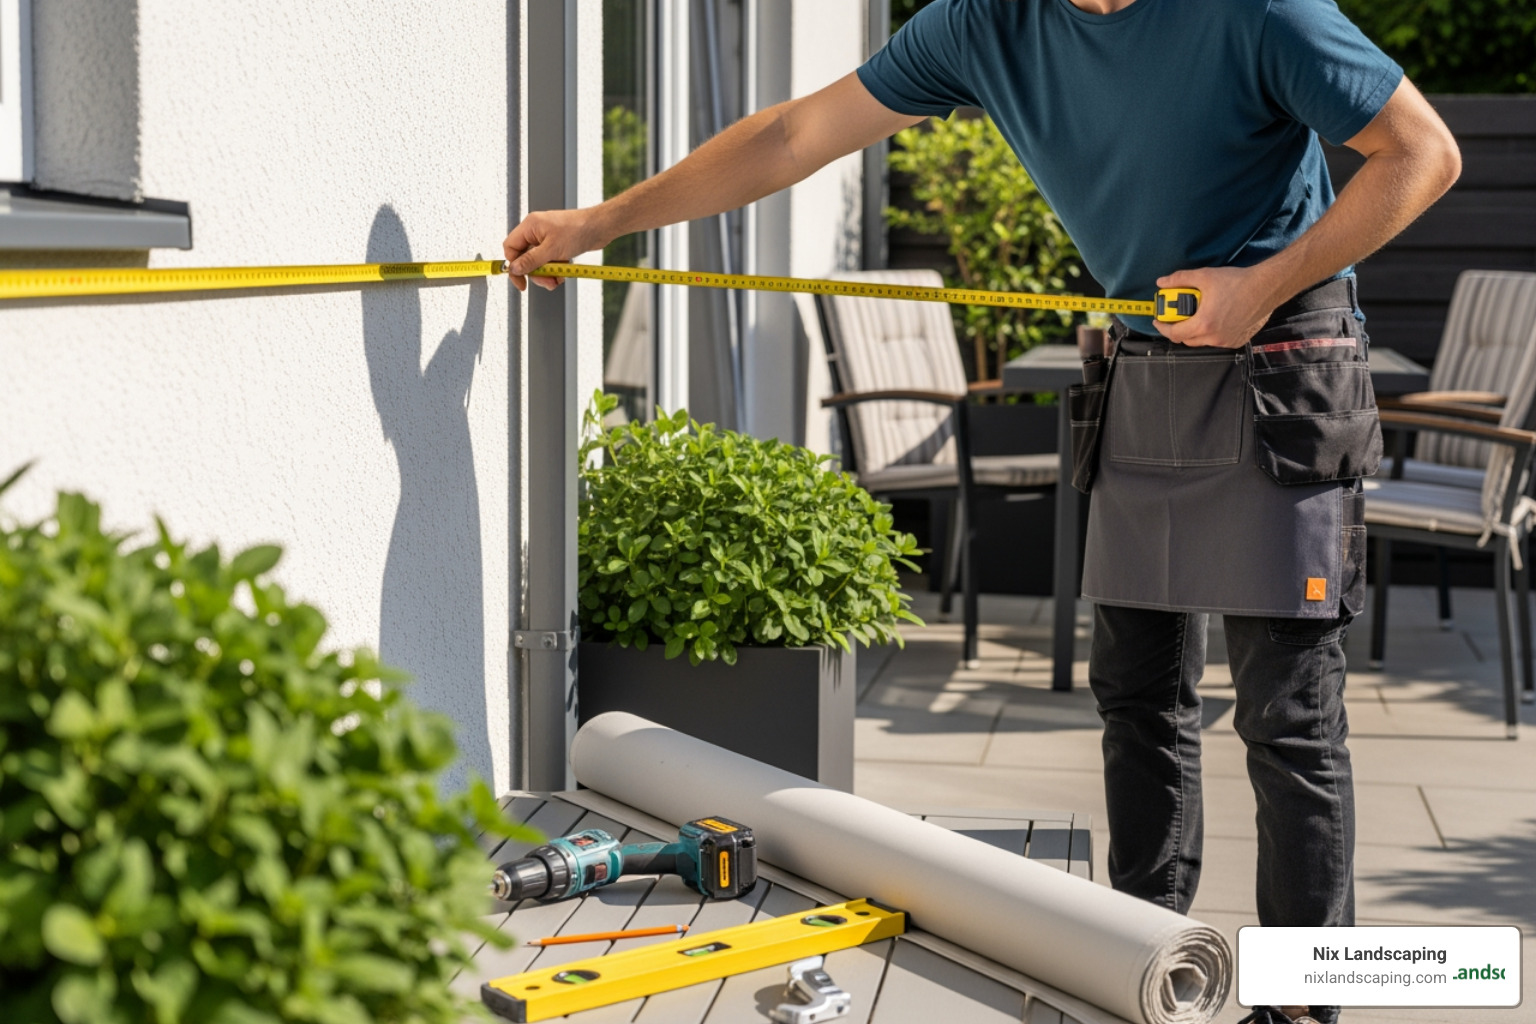
A site assessment is critical. Identify the mounting location, check the wall surface (cement, brick, wood?), and ensure there are no obstructions like pipes or Exterior Lights that could interfere.
How to Measure for a Perfect Fit
Accurate measurements are non-negotiable for an awning for patio installation. A mistake can mean the awning won’t fit, provide enough shade, or be installed safely.
- Measure Width: Determine the desired width of your awning. For patio or deck awnings, it’s best to ensure the awning extends to the very end of the structure, or slightly beyond, to provide maximum coverage. The fabric width is typically about 6 inches less than the total awning width to accommodate the framework.
- Measure Height: For deck or patio awnings, we generally recommend installing the awning around 7 to 8 feet above the ground for comfortable clearance. You’ll also need at least 12 vertical inches of clear space above the proposed mounting line for the awning mechanism.
- Calculate Projection: This is how far the awning extends from your wall. Consider how much shade you need and ensure there are no obstructions in the path of the fully extended awning. For example, an awning with a 12-foot projection mounted 8 feet off the ground will still need 7 feet of clearance at its outer edge when fully extended, assuming a typical 15-degree slope for drainage.
- Ensure Proper Slope for Drainage: Most awnings require a slope of about 15 degrees to allow rain to run off effectively and prevent water pooling. This is a crucial detail for protecting your awning and ensuring its longevity.
- Check for Obstructions: Look for anything that might impede the awning’s operation or mounting, such as windows, doors, downspouts, or light fixtures. You need enough clear wall space for the mounting hardware.
Always consult your awning’s product manual for specific installation instructions and recommended dimensions, as these can vary by model.
Tools and Materials You’ll Need
While every awning for patio installation project is unique, here’s a general list of tools you’ll want to have on hand:
- Tape measure (a long one!)
- Level (a 4-foot level is ideal)
- Stud finder (essential for mounting to structural supports)
- Power drill with appropriate bits for pilot holes and lag bolts
- Wrench set or socket wrench
- Ladder (sturdy and tall enough for safe access)
- Safety goggles and gloves (always prioritize safety!)
- Pencil or marker for marking
- Caulk gun and exterior sealant (to seal drilled holes)
- Shims or spacers (if your wall surface is uneven)
- And, of course, all the manufacturer-provided hardware that comes with your awning kit.
Budgeting for Your Awning Project
Understanding the costs helps you plan your awning for patio installation.
If you’re tackling a DIY installation, the average cost for just the awning itself can range from $350 to $4,500, depending on its size, type, and features. For instance, a basic 8-foot manual retractable awning might cost around $250-$300 from a big box store. If you’re handy and have the necessary tools, your direct costs will primarily be the awning itself.
However, professional installation brings peace of mind. The fee is $250 to $900 for a non-motorized model, and up to $2,000-$3,500 for a motorized one. This covers labor to ensure your awning is securely mounted, correctly pitched, and operates optimally.
Factors affecting the overall price include:
- Awning Size: Larger awnings require more material and labor, increasing costs.
- Material Quality: Premium fabrics and robust frame materials will cost more but offer greater durability and longevity.
- Motorization: Motorized awnings are more expensive than manual ones.
- Additional Features: LED lighting, drop-down valances, and weather sensors add to the cost.
- Permits: Depending on the size and type of awning, and your local regulations in Fishers, IN, you might need a permit, which can range from $25 to $100.
For a precise estimate custom to your specific needs and a professional awning for patio installation, we encourage you to contact us at Nix Landscaping. We offer custom quotes and expert advice to ensure your project stays within budget and exceeds expectations.
The Step-by-Step Guide to Awning for Patio Installation
This section details the core process, emphasizing safety and precision for a successful DIY project. While we’re outlining the general steps, always remember to consult your specific awning’s owner’s manual for detailed instructions, as models can vary.
Preparing for your awning for patio installation
This is where all your careful measurements and planning come into play.
- Marking Bracket Locations: Based on your measurements, use a pencil and level to accurately mark where each mounting bracket will go. Ensure these marks are perfectly level and spaced according to the manufacturer’s recommendations.
- Locating Wall Studs or Structural Supports: For a secure awning for patio installation, the mounting brackets must be attached to solid structural supports within your wall, such as wall studs or headers. Use a reliable stud finder to locate these. Never attach an awning directly to siding or drywall without proper backing, as it won’t hold the weight and could cause significant damage. For masonry walls, ensure you’re drilling into solid brick or concrete, not just the grout lines.
- Drilling Pilot Holes: Once the locations are marked and studs identified, use a power drill with the appropriate bit size (as specified in your manual) to drill pilot holes. These holes should be slightly smaller than the lag bolts you’ll use to secure the brackets.
- Attaching Mounting Brackets Securely: Position each bracket over its pilot holes and use your wrench set to firmly attach them with the provided lag bolts. Make sure they are tightened securely, but avoid over-tightening, which could strip the wood or damage the bracket.
- Using Shims for Uneven Surfaces: If your exterior wall has siding or is otherwise uneven, you may need to use shims or spacers behind the brackets to create a flat, solid mounting surface. This ensures the awning frame will be level and properly supported. After securing the brackets, apply exterior sealant around the drilled holes to prevent moisture intrusion.
Lifting and Securing the Awning
This step is arguably the most critical and often requires an extra set of hands. Safety is paramount here!
- Team Lift Importance: Retractable awnings, especially larger ones, can be heavy and cumbersome. We strongly recommend having at least two people (or more, depending on the awning’s size and weight) for this step. Coordinate your lift to ensure the awning is balanced and controlled.
- Sliding onto Brackets: Carefully lift the awning cassette (the main body of the awning that houses the fabric and mechanism) and slide its torsion bar into the square sections of the mounted brackets. This can be tricky, so take your time and communicate clearly with your lifting partner.
- Securing the Awning to the Brackets: Once the awning is resting in the brackets, follow your manufacturer’s instructions to secure it. This often involves inserting locking pins or tightening additional bolts to prevent the awning from dislodging. Double-check that all connections are firm and secure.
Final Adjustments and Testing Your New Awning
You’re almost there! This final stage ensures your awning operates perfectly and provides the desired shade and protection.
- Removing Safety Restraints: Many new awnings come with safety restraints on the arms to keep them compressed during shipping and installation. Remove these restraints one at a time, making sure there are no obstructions in the awning’s path. Be aware that the arms may spring open slightly as the restraints are removed.
- Testing the Retraction Mechanism:
- Manual: For manual awnings, insert the hand crank and slowly rotate it to extend and retract the awning fully. Listen for any unusual noises or resistance.
- Motorized: For motorized awnings, plug it into a GFI-rated outdoor socket (using a drip loop to prevent water from entering the outlet) and test the remote control. Extend and retract the awning several times.
- Adjusting the Pitch: As mentioned earlier, a proper pitch of around 15 degrees is crucial for water runoff. Your awning likely has an adjustment mechanism (often called an “Easy Pitch” system) that allows you to fine-tune the angle. Use a level to ensure the pitch is correct across the entire width of the awning.
- Setting Extension/Retraction Limits (Motorized): If you have a motorized awning, you’ll need to set the limits for how far it extends and retracts. This prevents the fabric from over-rolling or the arms from overextending. Consult your manual for specific instructions on how to program these limits.
Congratulations! Your awning for patio installation is complete. Now, step back and enjoy your new, shaded outdoor oasis.
Awning Maintenance, Care, and Warranty Essentials
Your newly installed patio awning is a fantastic addition to your home, but like any investment, it requires proper care and attention to ensure its longevity and continued performance. Regular maintenance not only keeps your awning looking great but also protects your warranty. Nix Landscaping offers comprehensive Landscape Services that can include aspects of outdoor structure maintenance, but there are things you can do yourself to keep your awning in top shape.
How to Clean and Maintain Your Awning
Consistent maintenance is key to enjoying your awning for years to come.
- Fabric Cleaning: The fabric is the most exposed part of your awning. Regularly brush off loose dirt, dust, and debris. For deeper cleaning, use a mild soap (like dish soap) mixed with lukewarm water and a soft brush or sponge. Rinse thoroughly with clean water and allow the fabric to air dry completely before retracting it. This prevents mildew and keeps the colors vibrant. Never use harsh chemicals or pressure washers, as these can damage the fabric and its protective coatings.
- Frame Care: Your awning’s frame, typically made of aluminum or steel, is designed to be durable and rust-resistant. However, it’s still a good idea to wipe it down periodically with a damp cloth to remove dirt and grime. Check for any signs of rust, especially in coastal or humid climates, and address them promptly.
- Lubricating Moving Parts: For retractable awnings, the moving parts (arms, hinges, gears) benefit from occasional lubrication. Use a silicone-based spray lubricant to ensure smooth operation, especially for manual hand crank mechanisms.
- Seasonal Maintenance:
- Spring: Give your awning a thorough cleaning and inspection after the winter months.
- Winter: If you live in an area with heavy snow or ice, it’s best to retract your awning completely and keep it protected. Awnings are primarily designed for sun protection, not heavy snow loads.
- Retracting During Inclement Weather: This is perhaps the most important maintenance tip. Always retract your awning during high winds, heavy rain, or snow. Even if your motorized awning has weather sensors, it’s good practice to manually retract it if you know bad weather is approaching. This prevents damage to the fabric, frame, and motor, and is often a condition of your warranty.
Understanding Warranty Considerations
Most reputable awning manufacturers offer warranties that cover different components for varying lengths of time. It’s crucial to understand what your warranty covers and, more importantly, what it doesn’t.
- What’s Covered: Typically, the awning framework (extruded and die-cast components, springs, cables) is covered for defects in materials and workmanship for a period, often five years or more. Motors for motorized awnings also usually come with their own warranty.
- Warranty Length: Warranty periods can differ significantly. For example, some frames might be covered for five years, while the fabric might have a separate ten-year limited warranty against fading or mildew.
- Exclusions: Be aware of common exclusions. These often include damage caused by improper installation, neglect, abuse, acts of nature (like severe storms or excessive snow loads), or using the awning for purposes other than sun protection. Powder-coated or painted finishes might also have limited coverage.
- Importance of Proper Installation: Your warranty can be voided if the awning isn’t installed correctly or if you don’t follow the manufacturer’s guidelines. This is another reason why precise measurements and secure mounting during awning for patio installation are so important.
- Filing a Claim: If you need to file a warranty claim, you’ll typically need your proof of purchase (receipt), the model name/number, and potentially the serial number of your awning.
Always keep your owner’s manual and warranty information in a safe place.
Frequently Asked Questions about Patio Awning Installation
We get a lot of questions about awning for patio installation, and for good reason! It’s a significant home improvement. Here are some of the most common inquiries we receive:
Is professional installation for a patio awning recommended?
While this guide focuses on DIY, it’s important to weigh the pros and cons.
DIY vs. Pro Analysis:
- DIY: Can save you money on labor costs (potentially hundreds of dollars). It offers a sense of accomplishment and full control over the project. However, it requires a good understanding of construction, access to specialized tools, and often, an extra pair of hands. The risk of error, injury, or property damage is higher.
- Professional Installation: Ensures the awning is installed correctly and safely, adhering to manufacturer specifications and local building codes. Professionals have the right tools, experience, and insurance. It saves you time and effort and often comes with a labor warranty.
When to Hire a Professional:
We generally recommend hiring a professional for:
- Large or Heavy Awnings: These can be dangerous to lift and maneuver.
- Complex Mounting Surfaces: If your wall is uneven, made of unusual materials, or requires special structural reinforcement.
- Motorized Awnings: These often involve electrical connections that are best handled by a qualified electrician or installer.
- If You’re Unsure: If you’re not confident in your DIY skills, or lack the necessary tools or assistance, professional help is a smart investment. For large or complex projects, considering Exterior Patio Contractors like us ensures a flawless outcome.
What are the main advantages of a retractable awning over a fixed one?
Retractable awnings offer several compelling advantages that make them a popular choice for awning for patio installation:
- Flexibility on Demand: This is the biggest draw. You can have sun when you want it and shade when you need it. On cooler days, retract it to enjoy the warmth; on scorching days, extend it for instant relief.
- Protection from Weather Damage When Retracted: Unlike fixed awnings, retractable models can be fully retracted during high winds, heavy rain, or snow. This protects the fabric and frame from damage, significantly extending the awning’s lifespan.
- Unobstructed Views: When retracted, the awning virtually disappears, leaving your patio open and your views unobstructed.
- Modern Aesthetics: Many homeowners prefer the sleek, less permanent look of a retractable awning.
- Energy Savings: You can strategically deploy the awning to block solar heat gain through windows and glass doors, reducing your home’s cooling costs, and then retract it to allow passive solar heating in cooler months.
Do I need a permit to install a patio awning?
This is a crucial question, and the answer often depends on your specific location in Fishers, IN, and the size/type of your awning.
- Local Building Codes: Building codes vary by municipality. Some areas classify awnings as “temporary structures” and don’t require permits, while others consider them permanent additions, especially if they are large, motorized, or attached to the house.
- When Permits are Required: You are more likely to need a permit for:
- Large awnings that exceed certain size limits.
- Awnings that are permanently affixed to the structure and considered a permanent addition.
- Awnings that involve electrical work (for motorized models).
- Awnings that extend over public property or easements.
- Checking with Your Local Municipality: The best course of action is always to check with your local planning or building department in Fishers, IN. A quick phone call or visit to their website can clarify any requirements.
- HOA Rules and Regulations: If you live in a homeowner’s association (HOA), you will also need to consult their covenants and restrictions. Many HOAs have specific rules regarding exterior modifications, including the type, color, and size of awnings allowed.
Always err on the side of caution and get clarification before beginning your awning for patio installation to avoid potential fines or having to remove your new awning.
Conclusion: Your New and Improved Outdoor Living Space
Completing an awning for patio installation is a rewarding project that significantly improves your outdoor living space. You’ve learned how to choose the right awning, carefully measure your space, gather your tools, and confidently walk through the installation process. The benefits are clear: a cooler patio, protection from harmful UV rays, potential energy savings, and an extended outdoor season for you and your family. There’s a real sense of accomplishment in changing your patio into a functional oasis with your own hands.
While a DIY awning is a great project, for a fully integrated backyard change that includes hardscapes and plantings, the experts at Nix Landscaping can bring your vision to life. We specialize in personalized design and maintenance, ensuring your outdoor space is not just functional but a true reflection of your lifestyle.
Ready to explore all the possibilities for your outdoor areas? From Patio Lighting Ideas to comprehensive landscape design, we’re here to help. Explore all our professional Landscaping Services Near Me.
Learn more about enhancing your home’s exterior:
Enclosed Patio Installation
Screened Porch Installation
Porch Screen Installation Near Me
Enclosed Patio Contractors Near Me
Custom Patios
Patio Installation Services
Patios and Paving
Patios Installation Service
Patios
Exterior Patio Contractors
Covered Patios Near Me
Outdoor Living Space Design
Outdoor Kitchen Design
Outdoor Country Kitchen Designs
Patio Lighting Ideas
Outdoor Lights for Patio
Landscape Lighting
Outdoor Lighting Ideas
Outdoor LED Lights
Outdoor Lights
Exterior Lights
Landscape Design Fishers IN
Best Landscape Design Fishers In
Our Services
Landscape Services
Landscaping Services Near Me
For even more information, visit our main pages:
Nix Landscaping Our Services
Nix Landscaping Home
Nix Landscaping Landscaping
Nix Landscaping Outdoor Living Space Design
Nix Landscaping Hardscape
Nix Landscaping Decks
Nix Landscaping Retaining Walls
Nix Landscaping Patios
Nix Landscaping Sod
Nix Landscaping Our Services

